Personio Integration
About the integration
How it works
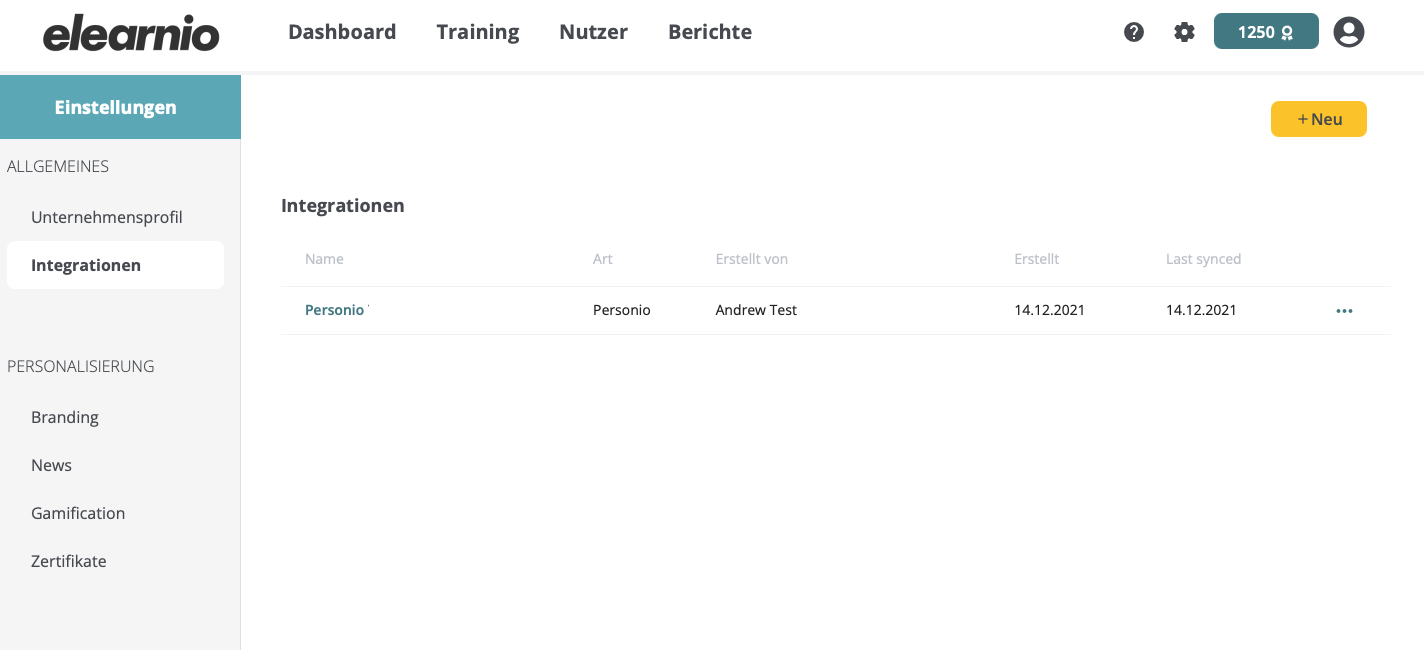
The synchronization update is currently not automated. It can be triggered manually on the elearnio integrations page.
Data synchronization
The following master data attributes from Personio are transferred to the elearnio user account:
elearnio Sync |
- These attributes must be enabled when setting up the integration in Personio. (see Setting up the integration)
- When resynchronizing the master data between Personio and elearnio, manual changes in elearnio will be overwritten.
- All employees are created in the "User" role in elearnio with the initial synchronization. Changes in the role assignments have to be made manually in elearnio afterwards. The elearnio role will not be overwritten when synchronizing again.
- Change of e-mail address: If an employee's e-mail address needs to be changed, this must be done manually in both systems (Personio and elearnio). Only then a new synchronization can be started.
Group assignments
Employees can be directly assigned to elearnio groups with Personio synchronization. You can choose if the "department" or the "team" in Personio should be used for this purpose. Prerequisite is that the group(s) already exists in elearnio and the name is identical to the department or team.
Example:
Personio
Employee A is in the "Marketing" department
Employee B is in the "IT" department
elearnio
Group "Marketing" exists in elearnio
Personio Integration has setting: Attribute for group assignment = department
→ After synchronization with Personio
Employee A is part of the "Marketing" group
Employee B is not assigned to any group
Notes:
Employees are only added to groups during synchronization, not removed
When employees are added to a group, no course invitations are sent via email
Setting up the integration
Personio Attribute "elearnio Sync
In order to define the employees, teams or departments to be synchronized to elearnio, an attribute must be created in the personnel file in Personio.
Create an attribute "elearnio Sync" - selection list with the values "yes" / "no" (Personio Attribute)
Assign the value "yes" to each employee who is to be synchronized to elearnio (Personio Bulk Editing)
Personio API Integration
Make sure you have Personio admin rights
As admin in Personio go to 'Settings' > 'API access data'
Click on 'Generate new access data'
Choose an appropriate name for the access data in the 'Name' field in the sidebar (e.g. 'API integration elearnio') and select the integration from the 'Integration' drop-down menu
Make sure that under 'Personal data' for 'Employees' a check mark is placed in the 'Read' column
Make sure that the following attributes are enabled in the 'Readable employee attributes' drop-down menu:
Department
E-mail
Gender
Birthday
Last name
Position
Location
Status
Team
Supervisor
First name
Hire date
elearnio Sync
Now click on 'Generate new access data'
Client ID and Secret are needed to set up the integration in elearnio
elearnio integration
Make sure you have elearnio admin rights
As admin in elearnio, go to 'Settings' > 'Integrations'
Click on + New
In the Name field, select an appropriate name for the integration (e.g. Personio Integration)
Select 'Personio' in the Type drop-down list
Enter the appropriate Personio values in the Client ID and Client Secret fields
Select the option 'Send invitations automatically' to automatically send invitations to elearnio to the employees
Use the 'Attribute for group assignment' option to select whether to assign employees to groups. The options are:
"-" no assignment
"Department" assignment is based on Personio department
"Team" assignment is based on the Personio team
Select "Save & Synchronize" to start the synchronization process.
After the synchronization is finished, an email with a summary will be sent to you
Related Articles
Single Sign-On
About SSO Single Sign-On (SSO) is an authentication method that allows users to securely log in to multiple applications and websites, but only need to enter their credentials once. To implement single sign-on in elearnio, a wide variety of ...